But, I do have a few, even if they are too few. Here’s the first one for this year – Thenkuzhal Murukku Recipe
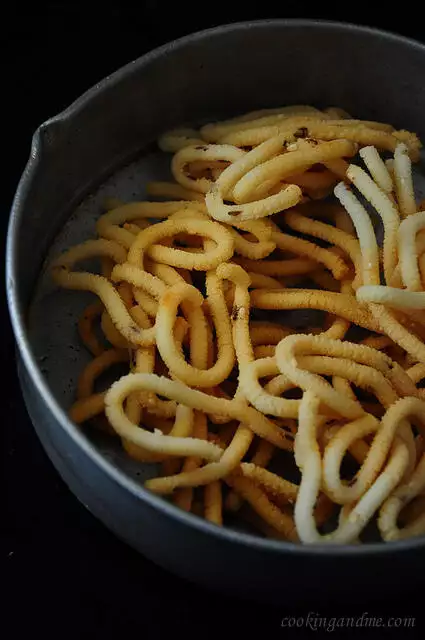
The hands behind the thenkuzhal are Amma’s, my mom-in-law. When we went to Indian in June, I requested her to teach me a couple of traditional recipes. All her cooking is fast and delicious, and this thenkuzhal is no exception. Everything comes together in less than 20 mins and you can have crispy hot murukku within 30 mins. I am not kidding.
More easy Indian snacks:
Butter murukku
Kai suthu murukku
Spicy South Indian mixture
Murukku or Thenkuzhal for Diwali / Deepavali
Recipe source: my MIL (she uses estimates for all ingredients, adding and mixing as we go but we’ve tried to pin it down for you if you are new to this)
Makes about 15 pieces
Ingredients:
1 cup of rice flour
3 tsp of urad dal flour (roast urad dal and powder it fine in a mixer or coffee grinder)
2 tbsp more or less, butter (we used Amul butter, yum!)
A generous pinch of hing / perungayam / asafoetida
1/2 tsp of cumin seeds / jeera
1/2 tsp of white or black sesame seeds
1/2 to 3/4 tsp of salt
How to Make Thenkuzhal
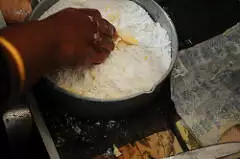
1. Mix the rice flour with the salt, hing, and urad dal flour. Cut the butter into small pieces and add to this. Mix gently with fingertips until it represents coarse sand.
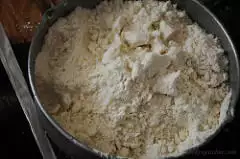
2. Add the cumin and sesame seeds. It’s fine to stick with one but I wanted to taste both of them so we added both.
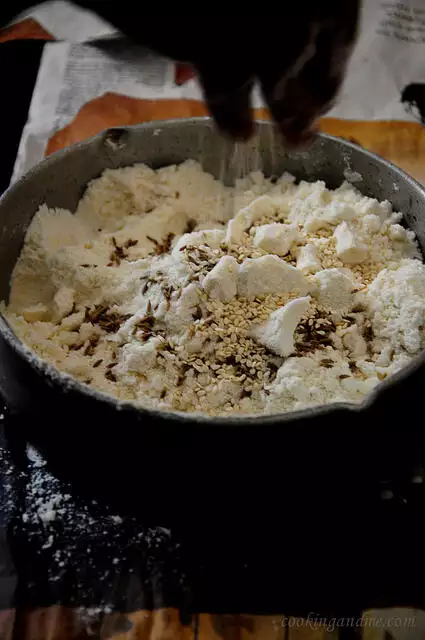
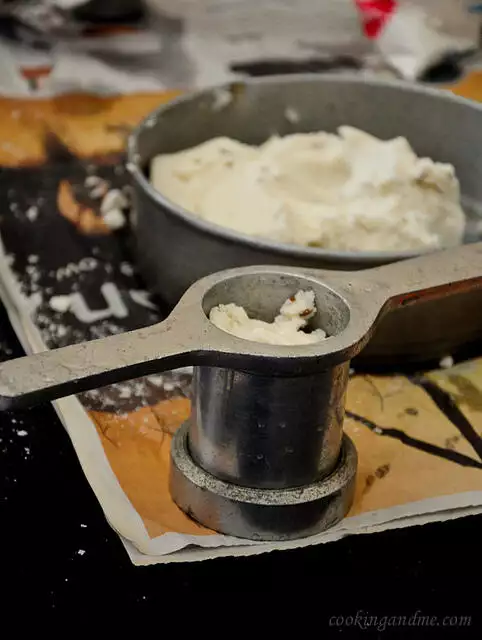
3. Mix it well to incorporate well into the dough. It will begin to come together and hold it’s shape when you press it in your palm. If it’s too dry at this stage, add a little more butter. Don’t go overboard because otherwise the murukku won’t hold it’s shape when you fry it.
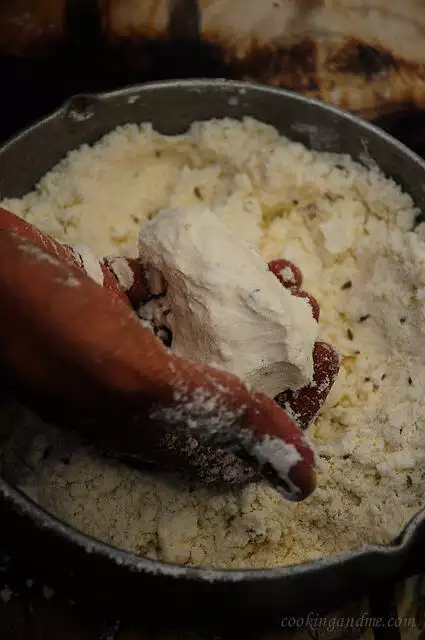
4. Now, add enough water to make a soft dough, not too watery but forms a dent when you press down with your fingertips. If it’s too watery, adjust by adding a bit more rice flour and a few sprinkles of urad dal flour. Don’t panic at any stage, everything is fixable in this snack recipe.
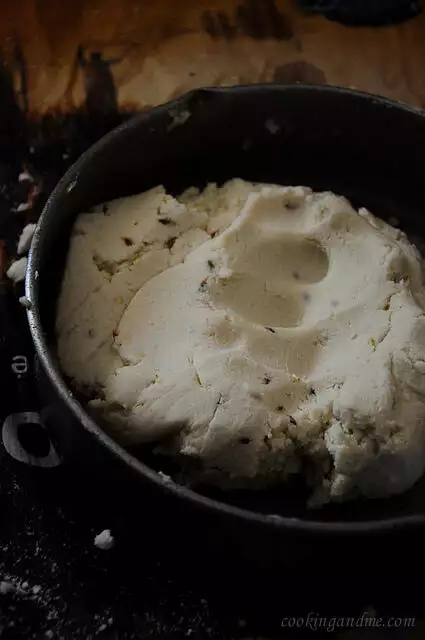
5. Fill a murukku mould gently with enough mixture without pressing it down too hard.
If you are a novice, you can press the thenkuzhal over a slotted spoon and gently introduce into the hot oil.
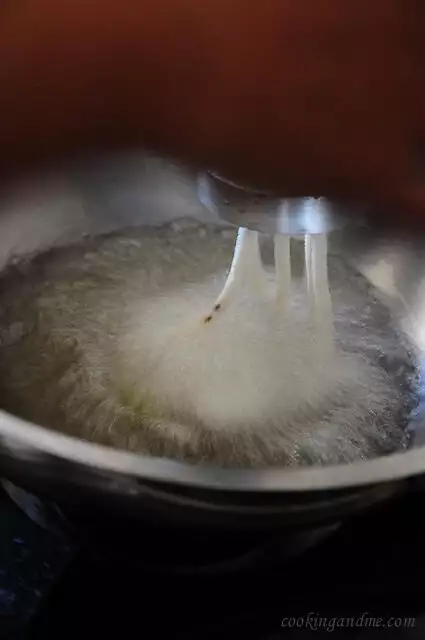
7. Fry until it becomes golden brown. Different people have their own preferences on how much they like to fry their thenkuzhal. Personally, I prefer it somewhere in the middle so I would try to get the golden brown colour.
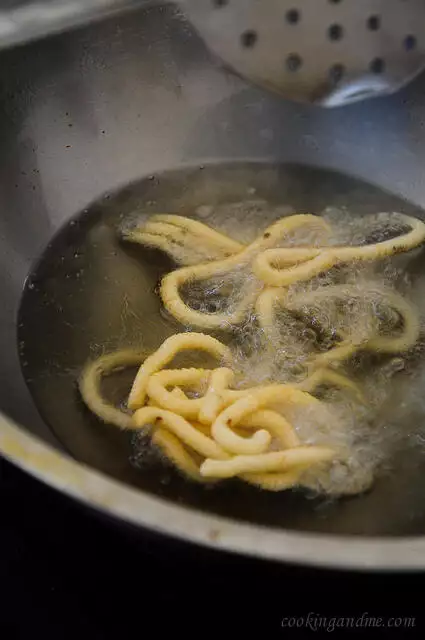
That’s it, we are done. Once cool, store in airtight containers. Keeps well for about 4-5 days if it lasts that long!
Hope you all are enjoying your Diwali cooking and sweet-making 🙂
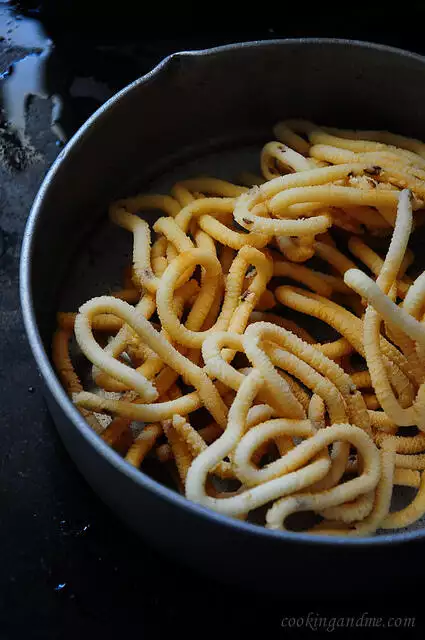
I love that container amma has but unfortunately I can’t steal it because it’s her pressure cooker vessel. Sigh.. 😉

I have made it several times with ur recipe n it has always turned out well. but last time I used another recipe and it was disaster. sohere I am back to my fav recipe. thanks nags
aww thanks tina! 🙂
Very nice bindya ! nice to have with chai !
Beautifully done pics!
Very nice!