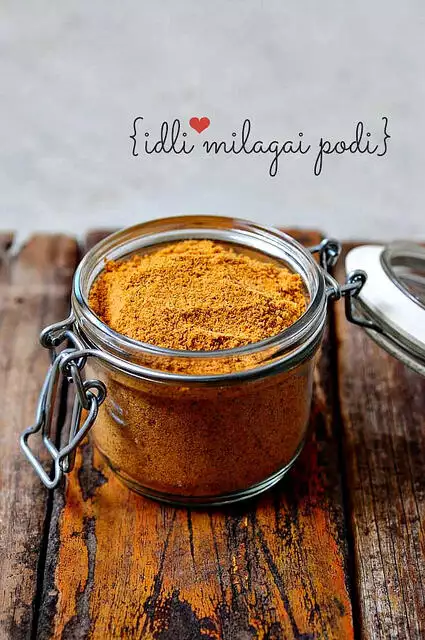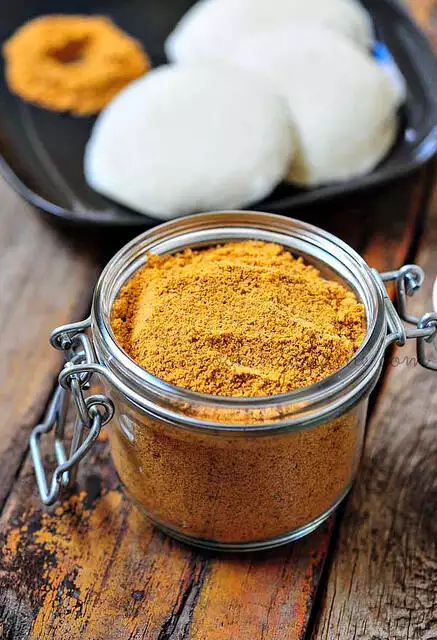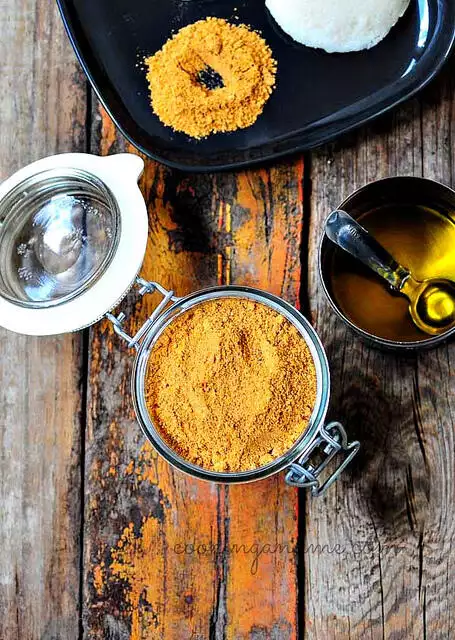
No matter how many different types of idli podi I have tasted in my life, my favourite will always remain my Amma’s. She roasts the spices a tad longer it gives the podi a deeper colour and flavour. I have never made Dosa podi myself but rather bring it back during my trips to Kottayam. Since she always makes it the day before I land and keeps it all packed and ready, I wasn’t able to take step by step pictures for making this Idli podi but will update this post if and when I manage that. Generally, since we tend to sneeze and cough a lot when amma fries the red chillies, she avoids making it when the house is full of people.

Growing up, none of us kids liked Idli much (which is blasphemous since Amma and Aatha, her mom, make the softest idli you would ever taste!) and the only thing that made it bearable for me was this idli podi and sambar. I love the combination of Kerala Sambar and Dosa podi when eating dosa too, nothing beats that! If I have these two for dosa, I don’t even care for chutney much.

For best results, use Indian Gingelly Oil (Sesame Oil) to mix the podi in and serve with idli and dosa. TH loves milagai podi mixed with curd for dosa and idli. While I find that combination unacceptable and have never tried it, he swears by it. He can eat curd with anything so I am not going to trust him on this. I will stick to my pod + nallennai combo, thank you very much!
Idli Dosa Milagai Podi Recipe
Preparation time: 5 minutes
Cooking time: 15 minutes
Makes ~ 1 cup podi
Recipe source: Amma
Ingredients:
15 dry red chillies
1 cup of split urad dal (ulutham paruppu, uzhunnu parippu)
1/4 cup of whole coriander seeds (dhania, malli)
2 strands of fresh curry leaves
1 tsp of oil
1/4 tsp of asafoetida powder (hing, perungaayam, kaayam)
1/2 tsp of salt
6 cloves of garlic, chopped (optional, but highly recommended)
How to Made Dosa Idli Milagai Podi:
- Heat the oil in a pan and add the dal, coriander seeds, and curry leaves. Roast until the dal begins to turn a darker shade of brown.
- Add the red chillies and keep roasting on low flame until the dal turns a golden brown. How dark you want it to be is up to you but Amma roasts it until a deep golden. Keep stirring and don’t let it burn.
- Switch off flame when done, remove the pan from fire, and add the hing, salt, and chopped garlic (if using). Mix well and set aside to cool completely in the same pan.
- Once cool, powder and store in an airtight container. How fine or coarse you want the powder to be is up to you. Generally, we grind it fine.
Notes:
– The amount of garlic mentioned here is the small variety we get in India. If using the larger variety, maybe around 2 cloves would be sufficient.
– The red chillies are added at a later stage so as not to over-roast them.
– Always keep the fire on low and keep stirring continuously for even roasting.
– After grinding, cool (the mixture may be warm) and store in an airtight container.
– Keeps well at room temperature for up to 2 months. I keep it for longer in the refrigeratore, but it’s better to make this podi in small batches since the flavour dwindles as you keep it longer.
– The colour of Idli Podi in the first and second picture looks a bit different due to lighting. The second and third pics are more representative of the actual colour of Dosa Podi.

hi , one question need to use fresh garlic right? is it ok to roast the garlic as well with other ingredients?
i roast the garlic too!
I would like to put some of this podi in to my nose! So much in color & taste. Keep it up dear. We love u.
haha thanks Lavan!
lovely photos, you seem to be a great cook and a fab photographer as well….I am not great at either but am sure glad that I bumped into your blogs while reading Anu Nandu's blog 🙂