Chocolate peda with condensed milk and milk powder is sweet number 2 from my kitchen this Diwali. After making the rava ladoo, I was wondering what other easy Diwali sweet I can make (with chocolate in it, I admit!), and zeroed in on chocolate peda. This recipe uses milk powder and condensed milk to make the job much easier, so it’s a shortcut sweet. I mean, what else did you expect from me, eh? 🙂
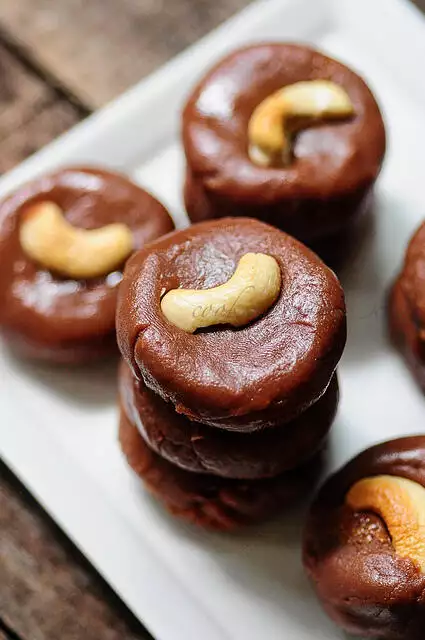
My aunt used to make chocolate peda from scratch – that is, by boiling down milk until it becomes almost-solid and adding cocoa powder and sugar along the way. I have eaten countless chocolate burfi squares during my childhood (yes I was a fat child, why do you ask?) and this chocolate peda brought back those memories for sure. This recipe is adapted from Madhura.
Looking for more easy Diwali sweets? Check out:
Kaju katli recipe
Maladu
Sandesh
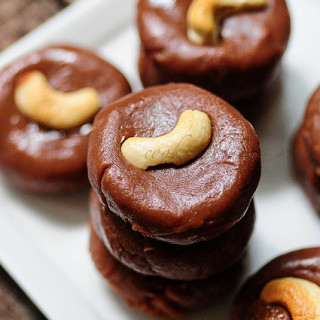
Chocolate peda with condensed milk
Ingredients
- 1 can ~400 gm of condensed milk
- 1 cup of milk powder
- 1/3 cup of cocoa powder / chocolate chips / chocolate chunks
- 2-3 drops of vanilla extract optional
- A pinch of salt optional
- 2 tbsp of unsalted butter
Instructions
- Heat a non-stick pan and add the butter. Turn the heat to simmer (very low) and wait until the butter melts completely.
- Add the condensed milk...
- milk powder, and
- chocolate pieces or cocoa powder (whatever you are using)
- , Continue to keep the flame low. Mix the ingredients gently together until they incorporate. If you are using chocolate pieces or chips, it will slowly start melting.
- Continue stirring until the mixture starts to turn smooth and add the vanilla and salt. Keep mixing. The mixture will start to thicken. Don't stop mixing at any stage, otherwise the bottom will burn.
- Soon - in about 3-4 mins, the mixture will be thicker and a bit harder to mix. Continue. Thank your lucky stars you are not my aunt who is making this from milk for her niece. The cooking time in that case will be at least 4 times longer!
- After 5-6 more minutes of patient stirring, the mixture will be gloopy and thick and leave the sides of the pan, circling around your ladle. From this stage, continue to cook for another 2-3 mins. If you remove it too early, the chocolate peda will be fudgy and too sticky.
- Once the mixture is super thick and comes around your ladle refusing to let you budge it any more, transfer to a greased plate or tray.
- Pat it down with the back of your silicon spatula or wet fingertips (the mixture will be very hot!)...
- and stick some chopped or whole cashew nuts in there. Let it cool completely and refrigerate for an hour.
Step by Step Chocolate Peda Recipe
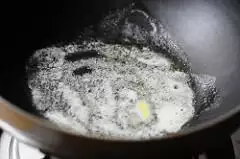
1. Heat a non-stick pan and add the butter. Turn the heat to simmer (very low) and wait until the butter melts completely.
2. Add the condensed milk…
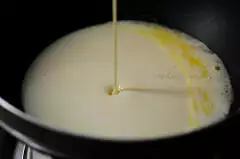
… milk powder, and
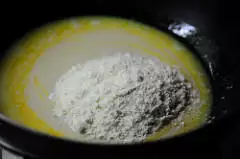
… chocolate pieces or cocoa powder (whatever you are using)
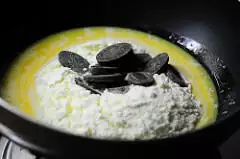
3, Continue to keep the flame low. Mix the ingredients gently together until they incorporate. If you are using chocolate pieces or chips, it will slowly start melting.
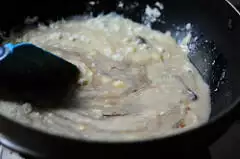
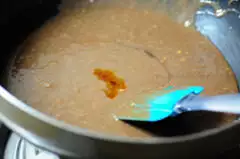
4. Continue stirring until the mixture starts to turn smooth and add the vanilla and salt. Keep mixing. The mixture will start to thicken. Don’t stop mixing at any stage, otherwise the bottom will burn.
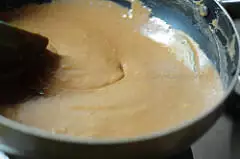
Soon – in about 3-4 mins, the mixture will be thicker and a bit harder to mix. Continue. Thank your lucky stars you are not my aunt who is making this from milk for her niece. The cooking time in that case will be at least 4 times longer!
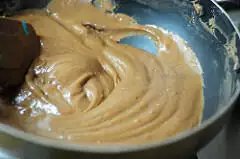
5. After 5-6 more minutes of patient stirring, the mixture will be gloopy and thick and leave the sides of the pan, circling around your ladle. From this stage, continue to cook for another 2-3 mins. If you remove it too early, the chocolate peda will be fudgy and too sticky.
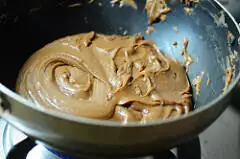
6. Once the mixture is super thick and comes around your ladle refusing to let you budge it any more, transfer to a greased plate or tray.
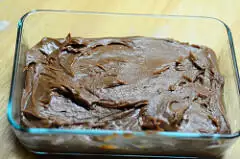
7. Pat it down with the back of your silicon spatula or wet fingertips (the mixture will be very hot!)…
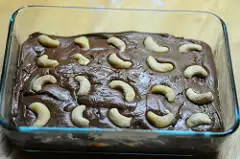
… and stick some chopped or whole cashew nuts in there. Let it cool completely and refrigerate for an hour.
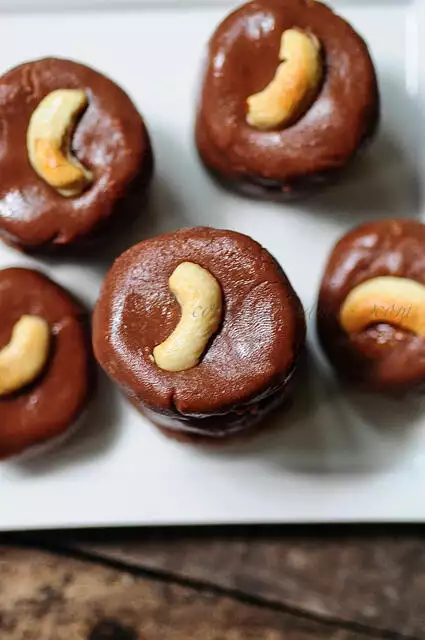
You can cut the chocolate peda into squares (and call it chocolate burfi) or shape them into flat discs and call them their rightful name. I prefer the latter so that’s what I did. Also, the difference in colour while cooking and the final pictures of the burfi is due to the difference in lighting in my kitchen and outside.
Phew! Chocolate peda and rava laddu conclude my Diwali sweet making for this year.
For chocolate peda recipe in Tamil, Hindi, Telugu, Marathi, Urdu, etc, please use the Google Translate button in the sidebar.

Hi…. Can I add flour instead of milk powder ?
no that won't work
Thanks…. I tried rest of ur Diwali recipes last year….came out awesome….doing the same this year too….
Happy Diwali 🙂
Thank you, Happy Diwali 🙂
Looks so yum…tempting it looks!
Happy Diwali…lovely sweet..new to me
Happy Diwali Nags, that choc peda will be done soon, the kids are going to love it