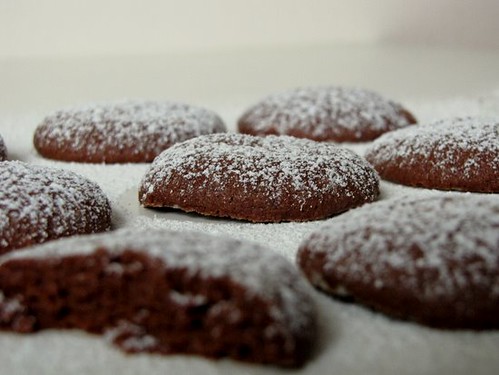
 Here’s another easy-to-bake eggless cookie recipe for baking beginners – Melting Moments! Melting moments are classic cookies or biscuits that use cornflour along with normal flour for a melt-in-your-mouth texture. I added a twist to them by making it chocolate flavoured.
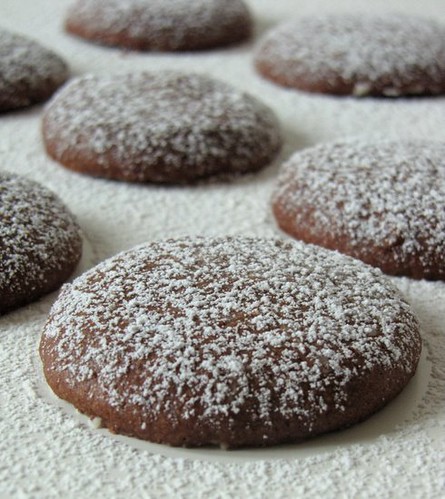 I am sorry for not including the cup measurements. I was adding and subtracting ingredients on a hunch so my cup measurements all went out the window. You can use the culiverter tool on the bottom of the right sidebar to get measurements in cups in case you don’t own a kitchen balance. Please don’t let that deter the aspiring baker in you.
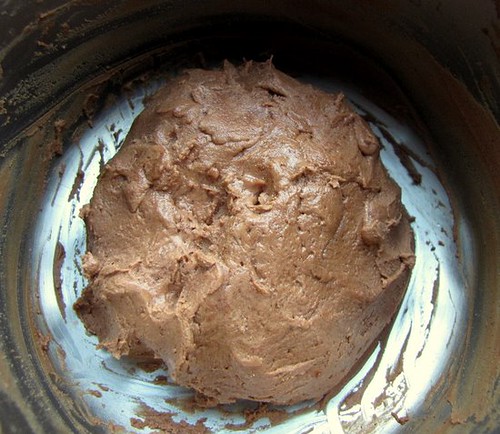
I don’t have step by step pictures for this but its really not as complicated as a cake or a brownie. I do have a picture of the dough, which is not very pretty but I felt you’d like to see it.
 Its really simple with no complicated ingredients or steps. Not even an egg! So all you vegetarians out there, you can go for it too! Probably a good cookie to bake for easter too.
Eggless Chocolate Melting Moments Recipe
(makes 12)
Ingredients:
125gm butter, at room temperature
60gm icing sugar + more for dusting
100gm plain flour / maida
25gm cornflour
20gm cocoa powder
How to Make Chocolate Melting Moments
1. Beat butter and sugar using a hand beater or an electric beater on low until smooth, creamy and combined.
2. Sift the plain flour, cornflour and cocoa together into a bowl (if you don’t have a sieve, just make sure you mix them well until combined).
3. Add the flour mixture little at a time to the butter mixture and mix until its all combined.
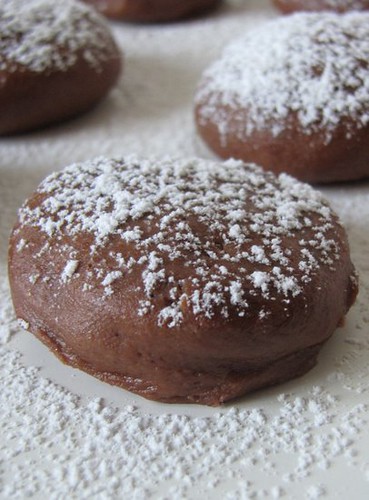
4. Make small balls with the dough and press gently. Space them a good 2 inches apart on a tray. The cookies spread while baking. I didn’t need to use a baking sheet, the cookies were quite well-behaved and didn’t stick to the tray at all.
5. Bake in a preheated oven at 180 C. It took about 30 mins to bake. Let it cool completely before removing from the tray and dusting with some icing sugar. Its hard to tell when its done because of the colour but I would recommend that you check after about 20 mins, probably by taking out just one cookie, letting it cool a bit and tasting it.
– You can store these for about 4 days in an air tight container.
– Its great to pack and send people, or to take to someone’s house when you are visiting, which is what I did.
– If you want a more rounded shape for your melting moments, shape into balls and don’t flatten. The cookies flatten as they bake so the rounder you start off, the more rounded the end result. I wanted flat ones, so I flattened the dough a bit.
This pic was taken 4 days after I made them. Still pretty and tasty, I can tell you 😉

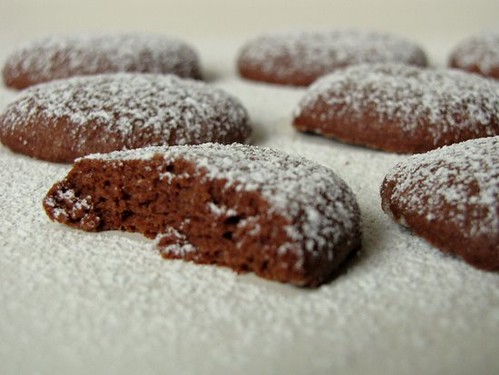
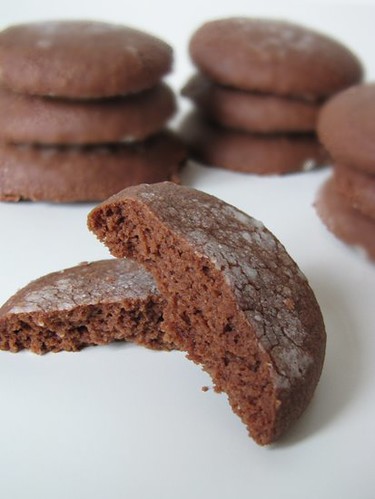
They look truly melt-in-the-mouth…..absolutely droolworthy.
Beautiful pictures, Nags. Of course, I’m sure the cookies were too.:)
They look like they’re covered in snow, a very Christmassy feel to the picture.
These cookies look really melting in the mouth…I liked especially the last but one pic….Will try it soon….
The other day i went through your food photography section..you shared very good information dear..:)
great work..
These melting moments are melting in my eyes right now:) They looks very delicious. And sound easy to make too. Great recipe!
love it, i’m going to try this weekend.
Hey Nags,
As usual your photos rock. The chocolate cookies would be great to have with my cup of tea now.
you had these left after 4 days… wow.
🙂 they look lovely.
Never came across such an easy cookie recipe.Every recipe of yours tempts me to try it immediately.The cookies look so yumm..thanks for sharing 🙂
Pretty!
Thanks Nags. Not any specific reason for adding an egg but just asked though. Will try sometime this version of ur choco cookies. truly looks yum. 🙂