I quickly realised I need to master the art of how to make curd at home because buying those Nestle curd cartons from the store was not working out very well for our wallets.
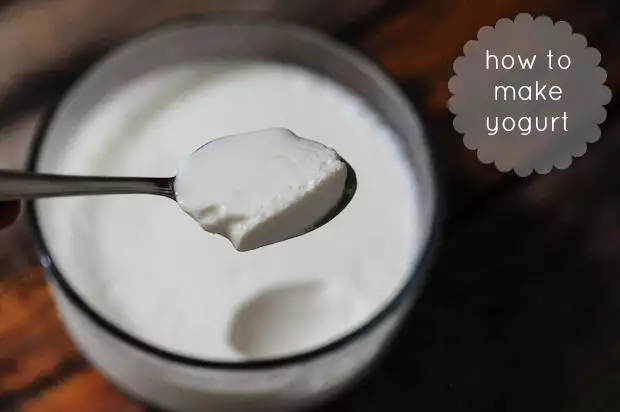
Also, there’s something special about homemade curd. Although you are not really doing anything special, it feels a bit magical to heat up some milk, add some curd in there, mix, set it aside, and magically have it harden up and taste awesome after a few hours. That’s really all there is to homemade curd or yogurt. Indian lassi like mango lassi or strawberry lassi drinkstaste way better when you use homemade yogurt to make them too.
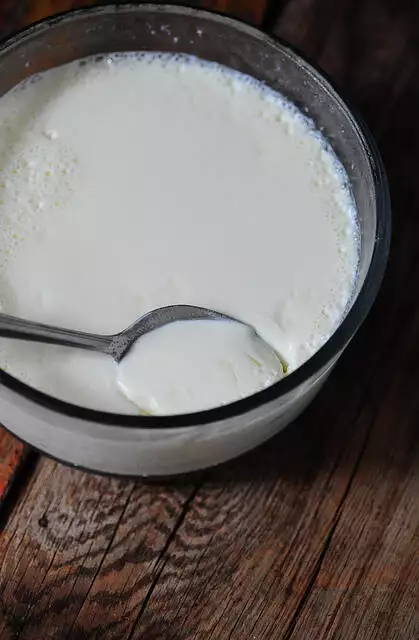
However, there are a few things to keep in mind while making curd at home. I learnt most of it by trial and error and I finally feel ready to share it with you all.
Homemade Indian Curd Recipe
Preparation time: 6 hours
Makes 500 ml set curds
Ingredients for making curd:
500 ml of milk (see notes below)
1.5 tsp of curd
How to make Curd:
1. Bring the milk to boil and set aside to cool. The temperature to which it needs to cool is important. It should be warm – not lukewarm, not hot. A good test is to insert your (clean!) finger in the milk and see if you can hold it there for 10 seconds without needing to pull it out because it’s too hot or feeling too comfortable because it’s too cold.
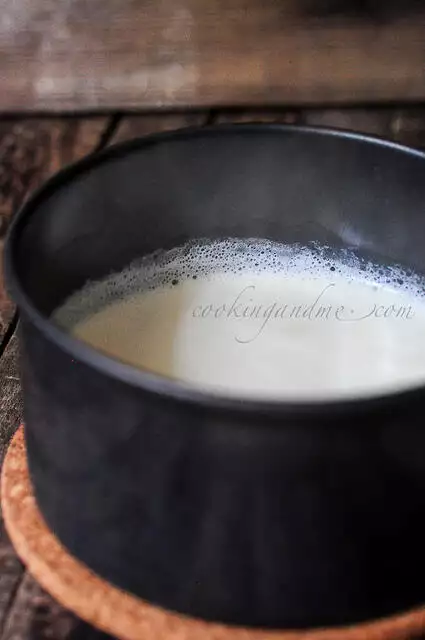
2. Transfer the milk to the container you want to set the curds in.
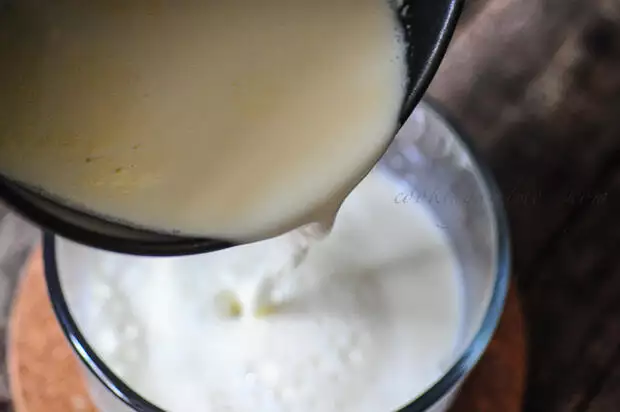
3. Add the curds to the milk. Yes, to make curd you need curd as a starter. The bacteria in our starter then acts on the rest of the milk and turns it all to curd. How cool is that, eh?
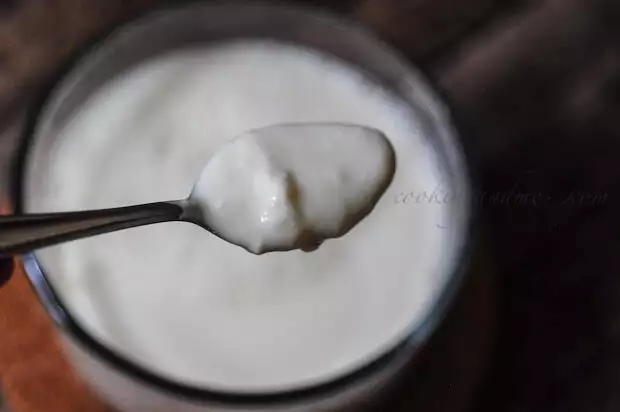
4. Mix the curd and the milk well together. This step is important. The better they are mixed, the quicker and better the curd will set. Using a whisk is a great idea too.
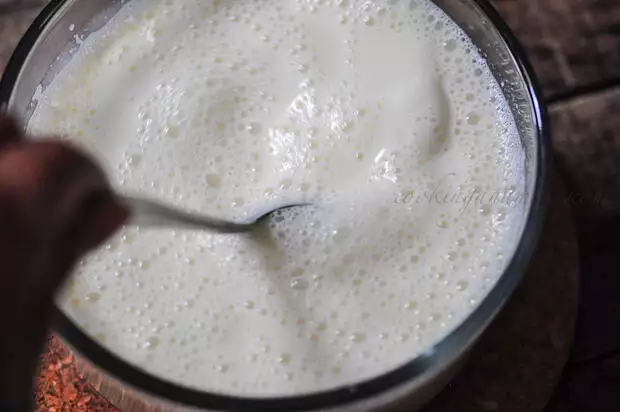
5. Once mixed, keep loosely covered in a warm place. Once the milk has completely cooled down, you can close the lid tighter (even airtight) but this is not necessary.
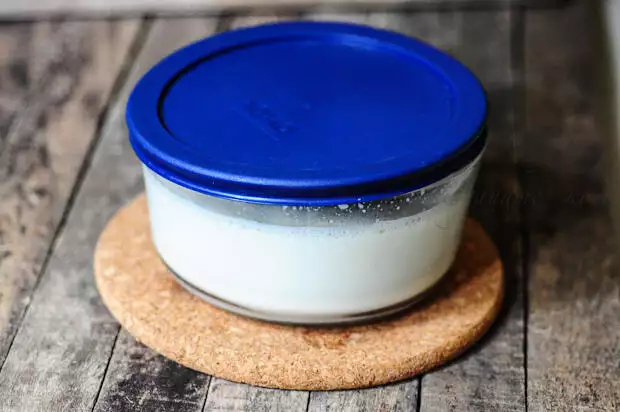
6. After about 6-8 hours, tadaaa! 🙂
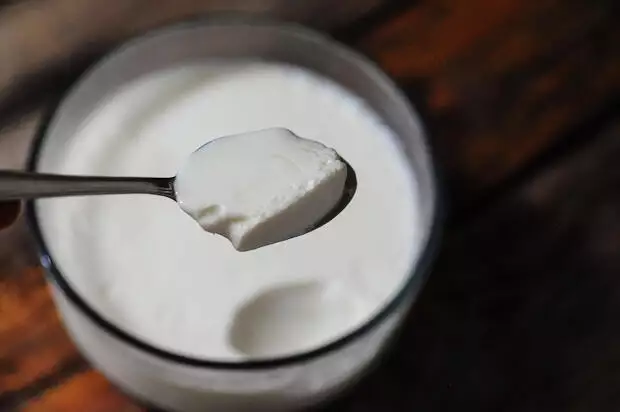
Although I have been making curd at home for more than 4 years now, I still feel great when I see a perfectly set batch of homemade curd.
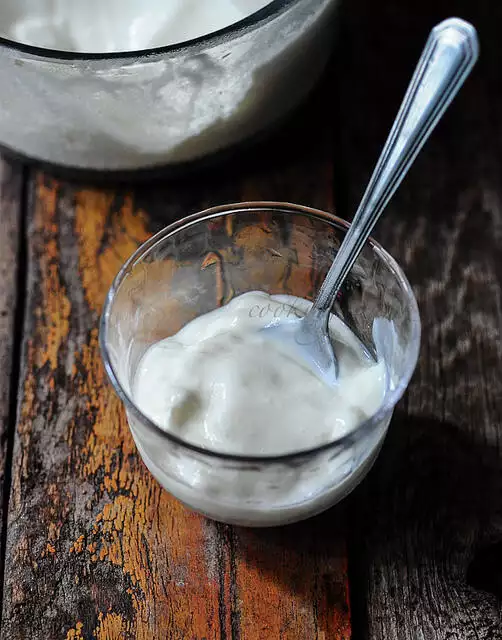
One of my favourite “quick snack” as a kid was to eat freshly made dahi with some sugar.
Notes:
– The type of milk you use for making curd impacts the outcome largely. Amma buys directly from a local milkman so her curd turns sour in a matter of hours. She makes fresh curd every day.
– I use the UHT (ultra-heat treated) milk available in cartons in Singapore. I have tried pretty much every brand and find that the Fair Price full cream milk gives me the best results. You can see a picture of it in the ‘how to make paneer‘ post. Fresh milk works too but the more the fat content, the thicker your yogurt.
– The temperature and humidity of the place you live in plays a major part too. Since Singapore is warm through the year and quite humid, I can leave the curds to set pretty much anywhere and still turn up with great results. If you live in a cold place, I would recommend the oven light technique that we discussed in the idli batter recipe post. Just leave the curd to set in your oven with the light turned on for warmth.
– If your curd is stringy and gooey, that means the temperature of the milk was not right – either it was too hot or too cold. You will have to experiment a bit with this to get it right for the place you live in.
– If the curd hasn’t set even after 6-8 hours (or 10 hours!), it’s possible you used too little starter curd amount, the milk was not warm enough or the temperature is not warm enough.
– What type of vessel should you use to set curd? I am told stainless works out the best but have found out that it doesn’t matter that much. I use pyrex glass bowls and love the convenience. Having an airtight lid to close it once the milk has cooled down helps the setting process for curd.
– Try to use the starter curd at room temperature so it doesn’t bring down the temperature of the milk too much. This is not a make or break situation but no harm in being careful.
– To make curd without curd as a starter, try adding a couple of dry red chillies (with stalk if possible) into the heated milk. I haven’t tried this but a friend of mine said this works as did Sreelu who said it makes curd set faster and thicker in the US.
I think I’ve covered most of the things that could go wrong with making curd at home, but let me know if you have other questions.

Nags Heard and seen from amma , She adds Green chilly by cutting the edge and add it in the milk to get the curd as soon as possible ! {roughly 2 to 3 hours}
When I make curd, I use spiral whipper and whip it unless observe foam on the surface and always get nice curd.
Btw, nice article with lovely pictures…I’m off to see your other post too
First time here and glad meeting you, hope to see you on my space.
Have a good day!
Ooh nice! I am having curd envy! I tried making curd once but nothing happened 🙁 I found out later that it was because you need to use curd with live cultures as starter and most brands don't contain live cultures here in the US.I am on the look out for a brand that does and will try again!
nice post…wonderful clicks..
Nags, Adding a dried red chili helps set yogurt, especially in the winter months when it gets really cold. my 2 cents 🙂
Hi just came across this old string looking for help on making yogurt with a chilli starter. Are you all adding the whole chilli (and is it whole, or split or chopped? is it a dried red indian chilli OR fresh red/green chilli ) or adding just the STEM of the chilli? and are the chillis used in replacement of yogurt starter, or in addition to it? Thanks so much!
Hi Anu, I haven’t tried this yet but it’s the whole red Indian dry chilli that is used. You can also add a couple of stems to make the process faster. This is added instead of the starter.
That is a very useful post 🙂 Just when I needed it..! Can I use the regular store bought Yoghurt to start out with?
Thanks!
I use plastic container and microwave Amul milk 1 ltr tetra pack for 2 mins and then mix the starter curd.
It comes out perfect.
Hi, thanks, just wanted to tell you, if you have mistaken me for the Sharmilee of Sharmi's passion, am not that Sharmilee :), anyway thanks for all your recipes and lovely photos, am regular reader of urs 🙂
🙂 When I saw the comment I thought you were her but then I remembered she puts a smiley at the end of her name. That comment was meant for you dear Sharmilee. (I guessed people must call you Sharmi no? Correct me if not ok? 🙂
Thanks so much for the support!
ohhh good, thanks for calling me Sharmi, it reminded me of my dearest friend who calls me Sharmi, and the only one to call so, now i have one more 😉
I was good at making curd in India but I cudnt get it right in Australia. Maybe its the milk type here. Ur article is encouraging me to give it a try again, so I m gonna do that this weekend. I just love wat all u cook. Thanks
when i make curd, after adding the starter curd to the milk, i pour it to another vessel and back to the main one, 2 – 3 times (like we do for "Kaappi/Tea aatharthu"), this really mixes the curd well with the milk, which is important for curd to tight set(may be whisk also does the same)
Sharmi, my mom does the same thing and I actually tried to explain it in the post while typing it but couldn't find the right words 😀 I think you did a better job than me… hehe 🙂