I quickly realised I need to master the art of how to make curd at home because buying those Nestle curd cartons from the store was not working out very well for our wallets.
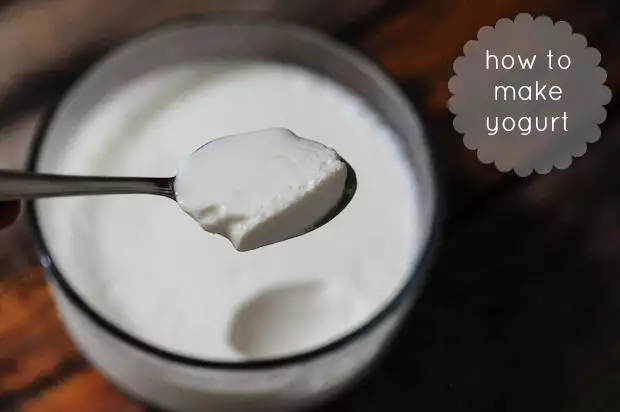
Also, there’s something special about homemade curd. Although you are not really doing anything special, it feels a bit magical to heat up some milk, add some curd in there, mix, set it aside, and magically have it harden up and taste awesome after a few hours. That’s really all there is to homemade curd or yogurt. Indian lassi like mango lassi or strawberry lassi drinkstaste way better when you use homemade yogurt to make them too.
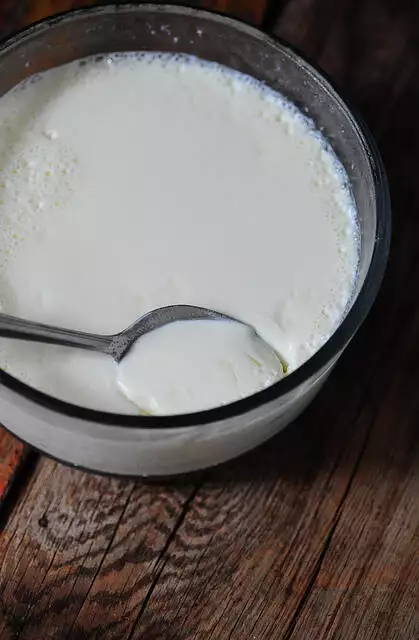
However, there are a few things to keep in mind while making curd at home. I learnt most of it by trial and error and I finally feel ready to share it with you all.
Homemade Indian Curd Recipe
Preparation time: 6 hours
Makes 500 ml set curds
Ingredients for making curd:
500 ml of milk (see notes below)
1.5 tsp of curd
How to make Curd:
1. Bring the milk to boil and set aside to cool. The temperature to which it needs to cool is important. It should be warm – not lukewarm, not hot. A good test is to insert your (clean!) finger in the milk and see if you can hold it there for 10 seconds without needing to pull it out because it’s too hot or feeling too comfortable because it’s too cold.
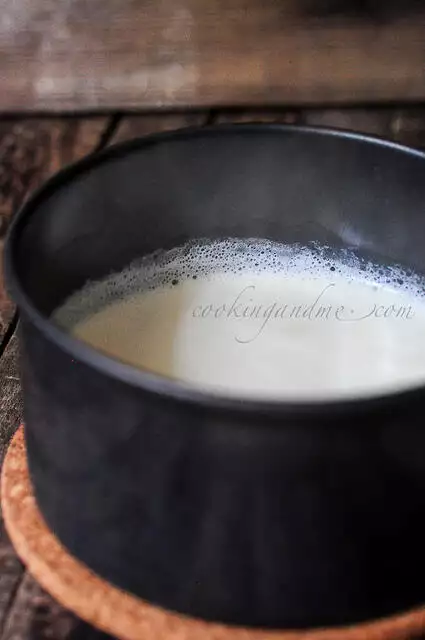
2. Transfer the milk to the container you want to set the curds in.
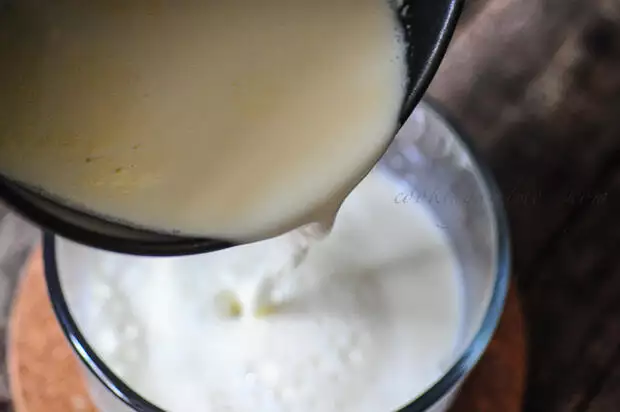
3. Add the curds to the milk. Yes, to make curd you need curd as a starter. The bacteria in our starter then acts on the rest of the milk and turns it all to curd. How cool is that, eh?
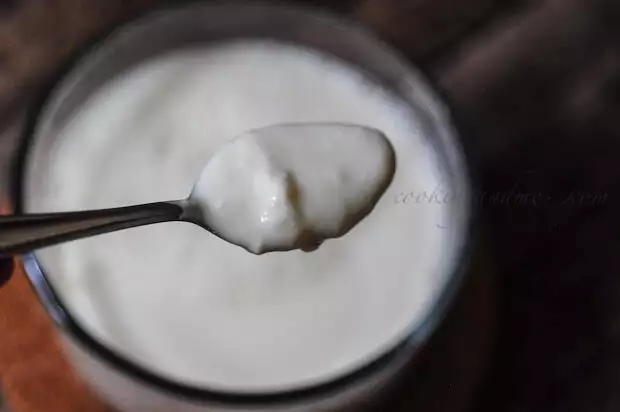
4. Mix the curd and the milk well together. This step is important. The better they are mixed, the quicker and better the curd will set. Using a whisk is a great idea too.
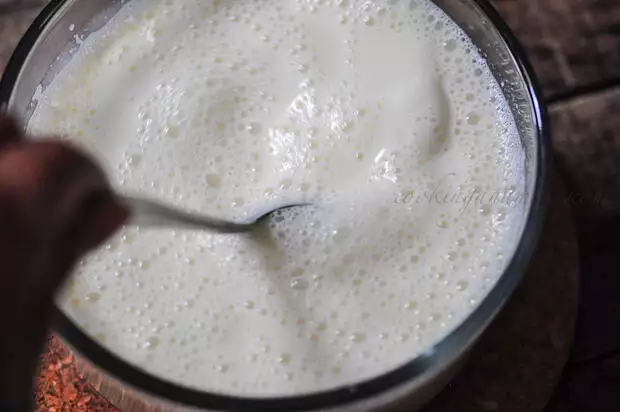
5. Once mixed, keep loosely covered in a warm place. Once the milk has completely cooled down, you can close the lid tighter (even airtight) but this is not necessary.
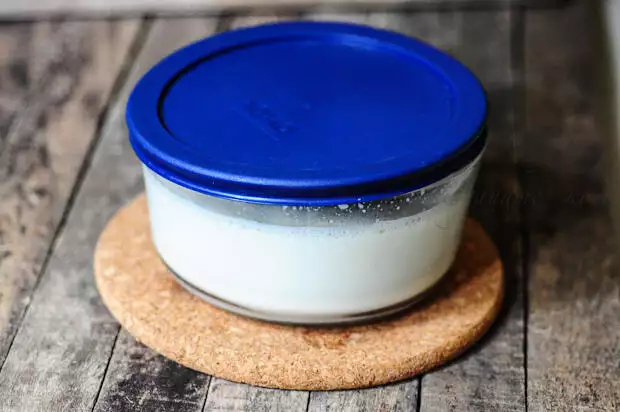
6. After about 6-8 hours, tadaaa! 🙂
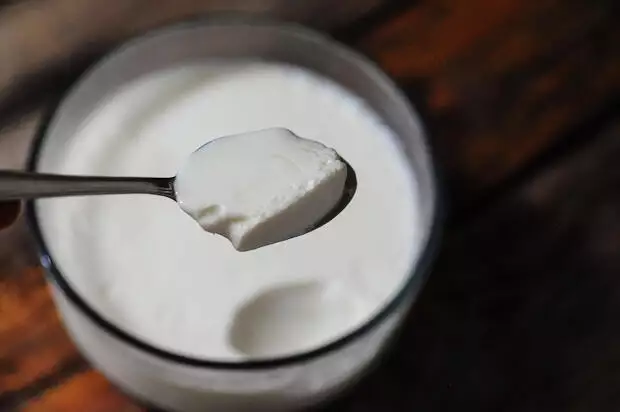
Although I have been making curd at home for more than 4 years now, I still feel great when I see a perfectly set batch of homemade curd.
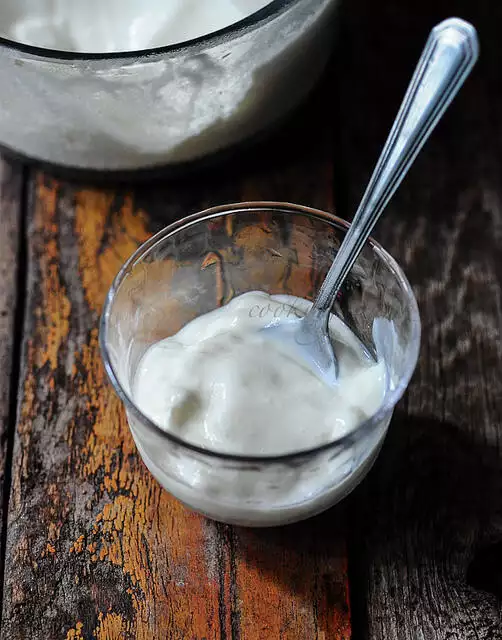
One of my favourite “quick snack” as a kid was to eat freshly made dahi with some sugar.
Notes:
– The type of milk you use for making curd impacts the outcome largely. Amma buys directly from a local milkman so her curd turns sour in a matter of hours. She makes fresh curd every day.
– I use the UHT (ultra-heat treated) milk available in cartons in Singapore. I have tried pretty much every brand and find that the Fair Price full cream milk gives me the best results. You can see a picture of it in the ‘how to make paneer‘ post. Fresh milk works too but the more the fat content, the thicker your yogurt.
– The temperature and humidity of the place you live in plays a major part too. Since Singapore is warm through the year and quite humid, I can leave the curds to set pretty much anywhere and still turn up with great results. If you live in a cold place, I would recommend the oven light technique that we discussed in the idli batter recipe post. Just leave the curd to set in your oven with the light turned on for warmth.
– If your curd is stringy and gooey, that means the temperature of the milk was not right – either it was too hot or too cold. You will have to experiment a bit with this to get it right for the place you live in.
– If the curd hasn’t set even after 6-8 hours (or 10 hours!), it’s possible you used too little starter curd amount, the milk was not warm enough or the temperature is not warm enough.
– What type of vessel should you use to set curd? I am told stainless works out the best but have found out that it doesn’t matter that much. I use pyrex glass bowls and love the convenience. Having an airtight lid to close it once the milk has cooled down helps the setting process for curd.
– Try to use the starter curd at room temperature so it doesn’t bring down the temperature of the milk too much. This is not a make or break situation but no harm in being careful.
– To make curd without curd as a starter, try adding a couple of dry red chillies (with stalk if possible) into the heated milk. I haven’t tried this but a friend of mine said this works as did Sreelu who said it makes curd set faster and thicker in the US.
I think I’ve covered most of the things that could go wrong with making curd at home, but let me know if you have other questions.

Iyer mam..
Really worth reading your detailed version on curd.
Congrats.
I use to make yogurt every week and here are some tips that i learned from cheese makers:
– the best choice is fresh milk that hasn’t gone through any thermal treatment. Then you have to pasteurize it before you use it, to reduce bacteria. You don’t have to boil it, it would decimate bacteria and there’s no need for that. 72°C for 20 seconds is more than enough (you can buy a cooking thermometer, they’re cheap). When I do it at home I heat the milk on the kitchen stove until it reaches 72°C and then I put the pan in cold water to quickly reduce the temperature to 40°C
– Milk bought in stores is already pasteurized, so you don’t need to do the above. UHT milk is the worst choice if you want to make yogurt or cheese (because it is kind of “sterilsed”, but it will do 😉
– Lactobacillus bulgaricus and Streptococcus thermophilus, the bacteria present in yogurt, love the heat. The ideal temperature for them to multiply ranges from 30°C to 40°C. If you live in Simgapore, room temperature is probably fine, but in colder climates, keep your milk in the oven with the heat off and the light on (this should keep the milk just above 30°C).
– the time needed for the milk to become yogurt may vary a lot, depending on the milk and the temperature, from 2-3 to 10-12 hours… check it from time to time
I hope this will be helpful.
This is amazing! Thank you 🙂
Oh dear, my bete noire 🙁 I can NEVER predict how my yogurt will turn out so I always end up buying it from the store. But I know that the taste of homemade yogurt is far superior to the store bought one! I made your Kerala plum cake yesterday and it turned out great and the 6" size was perfect for my little family. Am making more over the weekend to give away. Thanks so for sharing the recipe 🙂
I have a cooking thermometre too: so a temp for the milk would be useful, if anyone knows!
Also, in Punjab in winter my Mom covers the curds to set with a sort of blanket: or newspapers + blanket to keep the heat in.
a very informatory post Nags…
Now I know, at times why would I be failing to set it right !!!!
My mom-in-laws sets a perfect curd…
Rashmi
You are really an inspirational factor to all the budding bloggers. You are able to make 'curd' to an awesome interesting post with perfect photos, which I haven't thought about this. Keep rocking Nags! waiting to see more 🙂 !!
Useful post…love the clicks too!
This should be a very very useful post to a lot of people, nicely explained 🙂
I am pretty bad at judging temperatures so I think I'm quite likely to screw up there. I do have a cooking thermometer though! Do you have any idea of what the actual temperature of the milk should be just before setting? (I am in Singapore too.)
At times when temperature of the milk is not optimum and the curd added to setting purpose may be of not good quality even may result in not perfectly set and well formed curd and that gives taste too improper. Health wise too well set and well formed curd only is good to consume and can give good food value too. Curd is considered as Amrut and is very good for women in any stages of life be it young,adult,grown ups,pregnant,lactating or feeding,sick,just becoming normal from sickness-convalescence stage,sick and aged and so on! It is easily digested, gives required calories helps build immunity and even helps get Vitamin B Complex naturally and every woman must consume an amount equal to about 100 mls of curds daily while in meals so that they never feel short of Calcium when they reach Menopause and keep comfortable against Osteoporosis also.