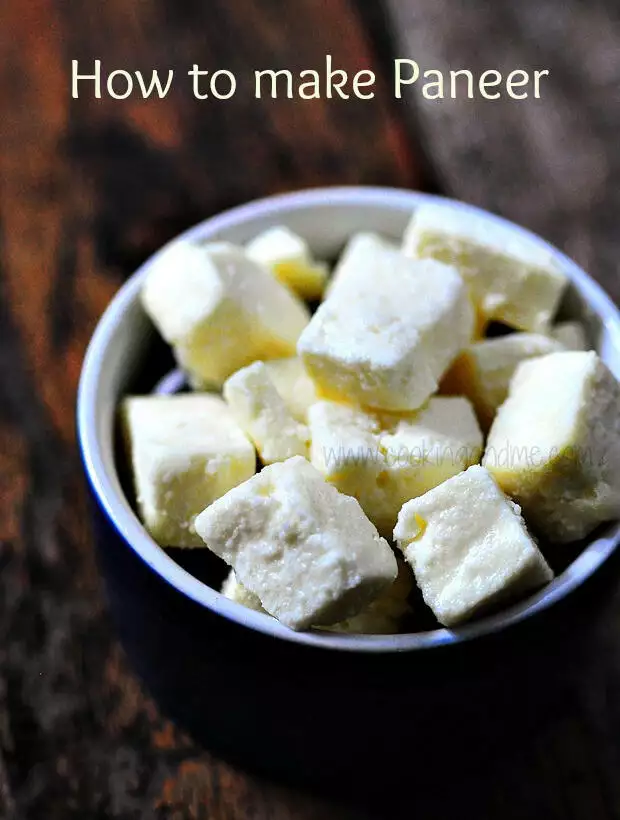
I started making paneer at home more frequently when Mustafa Centre stopped stocking Amul paneer cubes intermittently. Although they were practically tasteless compared to homemade paneer, I always have a small bag in the freezer just in case the urgent need to make some paneer butter masala kicks in. When I make fresh paneer at home, I usually end up using it within the next day or two so the store-bought ones were good for storing away for a paneer emergency.
More amazing paneer recipes on Edible Garden:
How to Make Paneer
Ingredients
- 1 litre full fat milk
- 1/2 cup curd or buttermilk or 1/3 cup lime or vinegar
Instructions
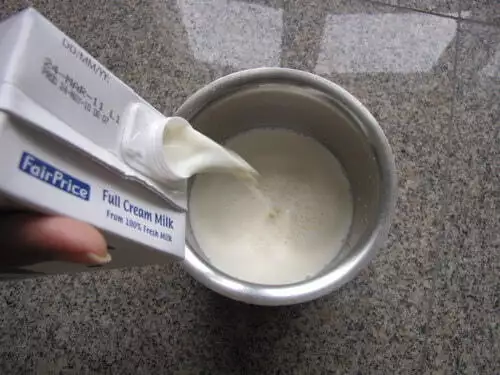
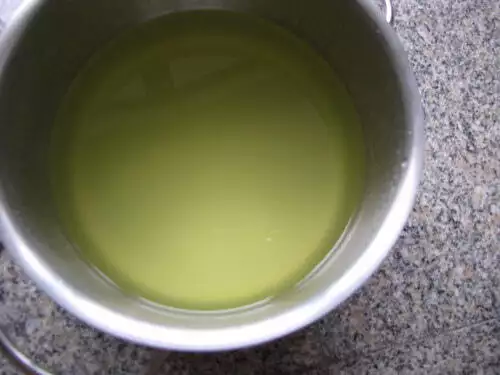
- Pour 1 litre full fat milk into a pan. It's very important that you use full fat milk for making paneer since we are basically going to extract the milk solids and fats from it and separate the whey
- In this pictorial I have used lemon juice but have found that curd or buttermilk is more predictable so if you are a beginner, use that
- Bring the milk to a rolling boil and add the curdling agent - curd, buttermilk, lemon juice OR vinegar - any one of your choice
- Simmer for another 4-5 mins or until the milk has completely curdled. Keep stirring gently while this happens
- Once the milk has curdled, turn the heat off and transfer to a double layered cheesecloth (or use an Indian cotton towel), that's placed over a colander which is in turn placed over a bowl large enough to collect all the whey
- Once the whey has drained off completely, wrap the ends of the cheesecloth over the paneer. At this stage, if I use lime or lemon juice, I run the paneer under some water to remove the sourness of lemon. This is optional
- You need to place some weights over this cheesecloth-paneer bundle to make a firm block of paneer. I placed a plate over it so that the block gets uniformly pressed down.
- Then I put my stone pestle and mortar over it and topped that up with my granite chapati rolling stone.
- Leave the weights on for about 2-3 hours and you should have a firm block of paneer
- Refrigerate for an hour or so so it's easier to cut into cubes and use immediately or store in the freezer for later use
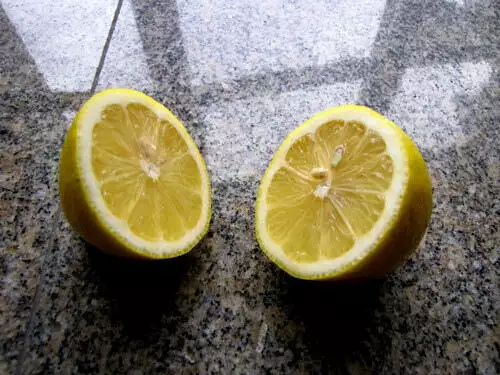
 I used lemon to curdle the milk in this pictorial and you need about 1/3 to 1/2 cup of lemon juice. You can also use white vinegar instead of lemon. However, I have found the most consistency results when using buttermilk or curd so that’s the way to go, especially if you are new to making paneer at home.
Bring the milk to a rolling boil and add the lemon juice or vinegar. Simmer for another 2-3 mins until the milk has completely curdled. Keep stirring.
Remove from fire and transfer to a double layered cheesecloth (or use an Indian cotton towel – thorthu / thundu), that’s placed over a colander which is in turn placed over a bowl large enough to collect all the whey.
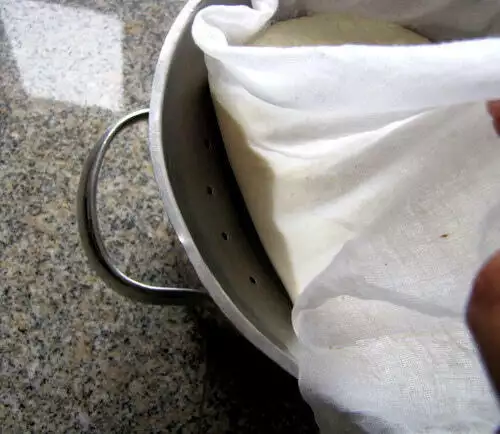
Once the whey has drained off completely..
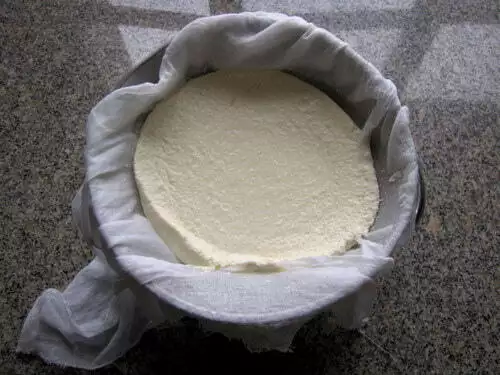
Wrap the ends of the cheesecloth over the paneer (at this point, you can run this bundle under some running water to wash out any residual sourness from the lemon but this is optional)
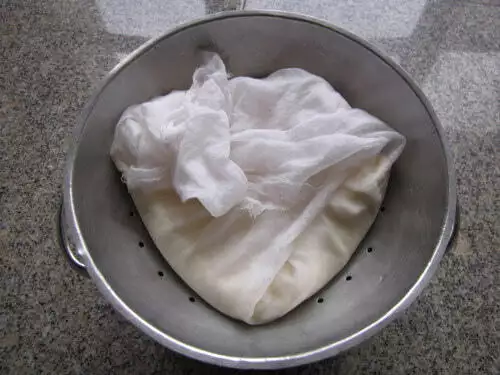
You need to place some weights over this to make a firm block of paneer. I place a plate over it so that the block gets uniformly pressed down.
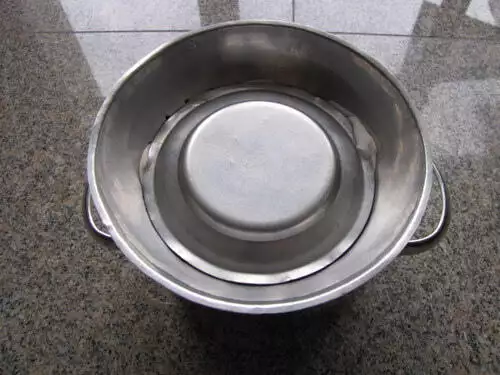
Then on goes my stone mortar..
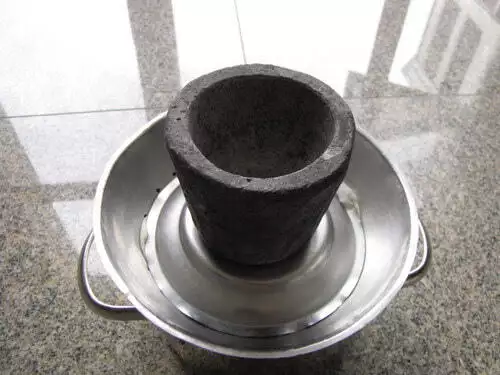
.. topped off with my granite chapati stone. (You can use bags of beans, cookbooks, or anything that’s heavy and can be balanced over the pressed paneer)
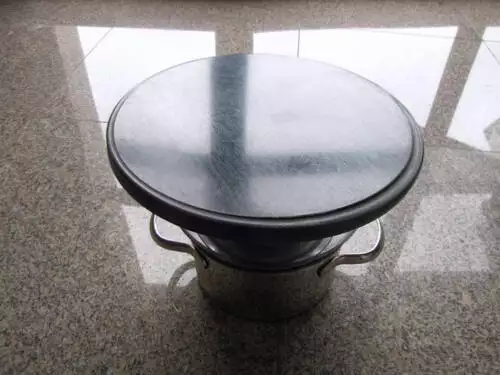
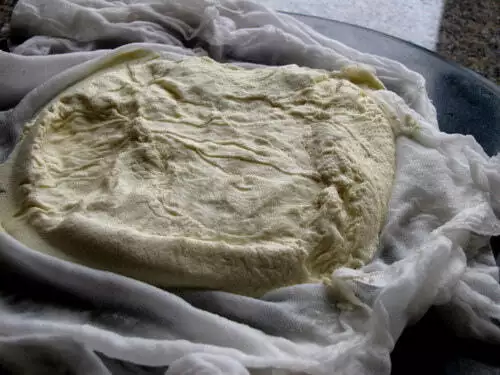
Leave the weights on for about 2-3 hours and voila! You are left with fresh paneer!
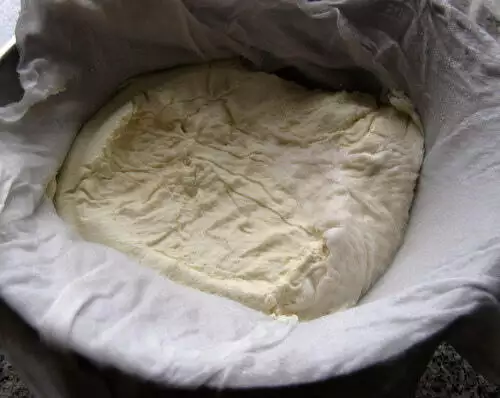
Refrigerate for an hour before cutting into blocks.
What about the whey you ask? Well, you can use it to cook rice or any vegetables. Also add it to roti dough for super soft rotis. Another great way to use it up is to use it instead of lemon juice, vinegar, or buttermilk to curdle milk next time you make paneer. Store it in the fridge for up to a week.
The homemade paneer can be frozen for up to a month before use.
Check out how to make paneer in Tamil, Hindi, Telugu, Kannada, Marathi, Urdu etc by using the Google translate button in the sidebar.

lovely homemade cheese
Wonderful post..
I am one of the dogs 🙂 Posted it recently.
Good post.
hi nags ,
this is very useful post …thanks for sharing …btw today i post cheesecake truffle on my blog which i bookmarked from ur's….they tastes awesome dear ….thank you somuch much for sharing such a wonderful recipe ….if u get time check my post …
Satya
http://www.superyummyrecipes.com
I love the pics, esp the last one, love the texture there .. My dad got me a paneer maker, I haven't tried that yet. I bet, home made paneer is a lot tastier than store bought ones
Very useful post:)
nice tutorial
I love this post. Very helpful…i have tried making paneer at home but it never comes the way it is suppose to.
very useful post with nice pictorial explanations..Nice tip for using the whey.
I too make paneer just like you but rinse the milk solids under water before putting a weight on it. I noticed that you didn’t do that. I am wondering if paneer sets better if you don’t wash the milk solids?
BTW- Great pictures and lovely blog.
rinsing helps take some of the sourness from souring agent off. i don’t alway do it but the result shouldn’t differ too much if you makes sure you press it long and hard enough
Nice stepwise to make panneer……Home made tastes best than the store bought ones….its very soft too!!