Palkova recipe, learn how to make palkova in the microwave in 10 minutes. Yes, really. Palkova in 10 minutes. What has the world of cooking come to? Traditionally, palkova and thiratipal would require you to painstakingly stir a pan of milk constantly to avoid burning until it reduces to a delicious mulch which is then sweetened. The resultant palkova cannot be compared to this 10-min microwave or stovetop version (let’s not kid ourselves) but it’s still quite magical to get a good bowl of hot palkova in just 10 minutes. During Diwali, nothing can be more convenient than getting some super quick and easy sweets on the table so you can concentrate on other festival activities at hand.
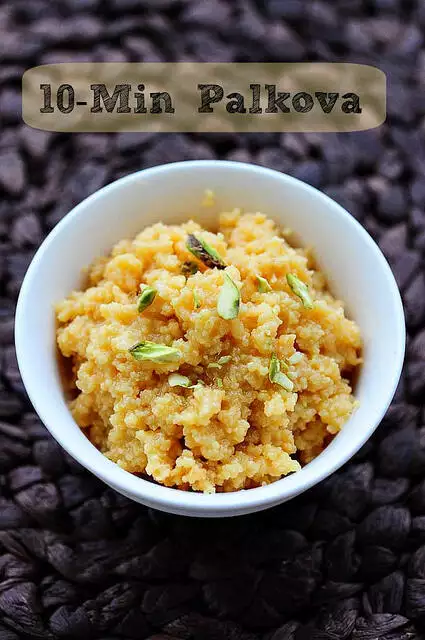
On the subject of this particular method of trying a palkova recipe in the microwave, I must admit that it has some negatives and flaws, in my humble opinion. I followed the method mentioned in tons of blogs around and it worked like a charm, but the resultant palkova was heavy, too sweet, and turned very hard on refrigeration. Also, I found the process of making it in the microwave very messy and, ironically, time-consuming because you have to turn the MW on and off every time the condensed milk threatens to boil over, which is all the time!
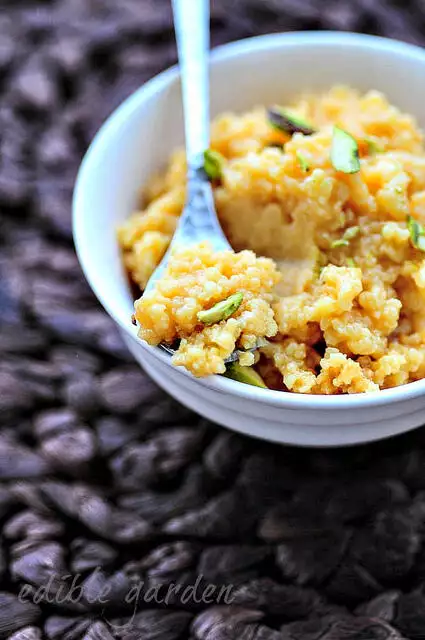
So, while I have taken pictures step by step of making palkova in the microwave, I urge you all to try this on the stovetop. The extra time you need to cook the condensed milk should be fine since the MW method needs constant monitoring too. I also have some suggestions to offset the sweetness of the condensed milk (pls check notes below), do let me know if you try any of these and I would love to update this post with the details since I don’t have enough time (or condensed milk) to try this palkova recipe on the stovetop again. Check out this list of Diwali Sweets all under 20 minutes.
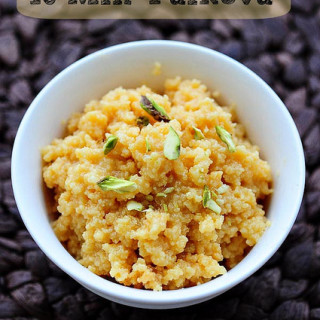
Palkova Recipe
Ingredients
- 1/2 can of sweetened condensed milk
- 2 tsp of plain yogurt
- 1/4 cup of roasted nuts of your choice see notes
Instructions
- Please note: I made this batch of palkova in the microwave and have step by step pictures of that process. Although I haven't tried it myself, I suggest following this process on the stovetop using a heavy-bottomed pan and low heat. The stages of palkova should look very similar as below.
- Pour the condensed milk in a large glass bowl (if using the MW). The condensed milk will boil and rise substantially so make sure you use a large enough bowl.
- Microwave for 1 minute on high power. If the condensed milk seems to be almost bubbling over, stop the microwave, let it settle (for a few seconds), and then switch it on again. My MW, as do most, has a stop-start option so I used that.
- Add 1 tsp curd to the hot condensed milk
- mix well, and cook in the microwave for another minute.
- The condensed milk will keep bubbling to the top so stop and start the MW as many times as you need. I had to do this roughly every 10 seconds and it was quite annoying and time consuming. If on the stove stop, you can just keep mixing the condensed milk as it curdles due to the yougurt we add (which is the desired result).
- Repeat this step of adding curd one more time and cook again for 1 minute.
- By this time, the condensed milk would have curdled well (if not, you can do one more round of yogurt+cook but this shouldn't be necessary for this amount of condensed milk).
- Keep cooking in the MW in bursts of 10 seconds until the palkova forms - thick and curdled like in the picture below.
- You don't want it to become too dry because the mixture continues to cook even after you stop - it's very very hot - so be careful when handling it or if you decide to take a taste.
Step by Step Microwave Palkova Recipe
1. Pour the condensed milk in a large glass bowl (if using the MW). The condensed milk will boil and rise substantially so make sure you use a large enough bowl.
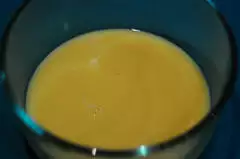
2. Microwave for 1 minute on high power. If the condensed milk seems to be almost bubbling over, stop the microwave, let it settle (for a few seconds), and then switch it on again. My MW, as do most, has a stop-start option so I used that.
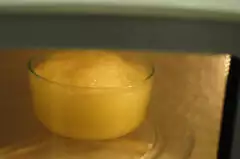
3. Add 1 tsp curd to the hot condensed milk
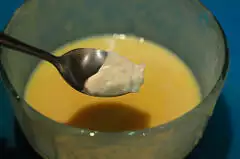
mix well, and cook in the microwave for another minute.
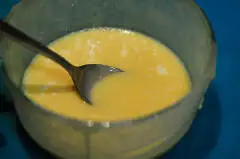
The condensed milk will keep bubbling to the top so stop and start the MW as many times as you need. I had to do this roughly every 10 seconds and it was quite annoying and time consuming. If on the stove stop, you can just keep mixing the condensed milk as it curdles due to the yougurt we add (which is the desired result).
4. Repeat this step of adding curd one more time and cook again for 1 minute.
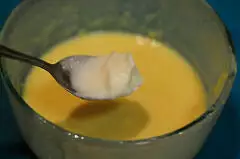
By this time, the condensed milk would have curdled well (if not, you can do one more round of yogurt+cook but this shouldn’t be necessary for this amount of condensed milk).
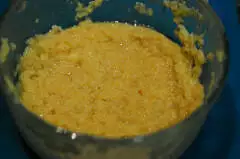
5. Keep cooking in the MW in bursts of 10 seconds until the palkova forms – thick and curdled like in the picture below.
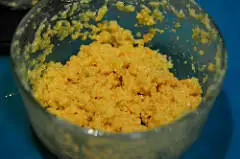
You don’t want it to become too dry because the mixture continues to cook even after you stop – it’s very very hot – so be careful when handling it or if you decide to take a taste.
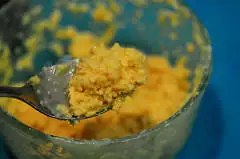
NOTES:
- I added 1/4 cup of dry-roasted pistachios to the palkova when it was still hot and mixed them in well. This is to cut down the sweetness. As you know, condensed milk is very sweet on its own and when you are cooking it down removing moisture like in the above process, you are making it even sweeter. I have a sweet tooth but even for me, this palkova was too sweet
- You can add some milk to the condensed milk (maybe equal amounts) and cook it down on a stovetop following the above process of curdling with yogurt. This will help make the palkova softer and less sweet. Worth a try
- I am wondering how it would taste if we add some flour to the condensed milk. I haven’t tried this either but I am just trying to think of how to make the consistency a bit softer and make it optimally sweet. Adding unsweetened cocoa powder is another option, of course. It may end up a lot like this chocolate burfi, but more grainy in texture
- Most recipes around suggest adding a tsp of ghee or butter. I didn’t feel the need for it since the condensed milk turns quite greasy as it cooks down and didn’t feel sticky. Feel free to add it if you’d like the enhanced flavour though
Any ideas for making this easy palkova taste better?
Please note: I made this batch of palkova in the microwave and have step by step pictures of that process. Although I haven’t tried it myself, I suggest following this process on the stovetop using a heavy-bottomed pan and low heat. The stages of palkova should look very similar as below.
For palkova recipe in Tamil, Telugu, Hindi, Marathi, Urdu, etc, please use the Google translate button in the sidebar

Leave a Reply