Baking bread can be a bit daunting, especially for beginners. But something remarkable about it is the use of minimum ingredients, ones that are available all around the world! The technique and other stuff can be perfected in time but the idea is to take the first step.
Everyone loved my Butterscotch Blondies Step by Step Recipe and gave good feedback saying since it was step by step, it made it look less daunting. A lot of people tried it even though butterscotch chips was not easily available where they live. Many of you wrote to me with creative substitutes you used and some even sent me pictures. That was probably one of the most encouraging set of comments I have ever received.
Anyway, after my first attempt at bread, I tried again about a month ago, but this time I decided to go for the normal bread, the one where you need to knead it. The good part is, the ingredients are very very simple and easy to get everywhere.
I hope the step by step recipe makes it less scary for people to take the first step 🙂 If you need to skip the pictures, please scroll to the end of the post for the complete recipe, in one place.
Simple White Bread – Step By Step Recipe
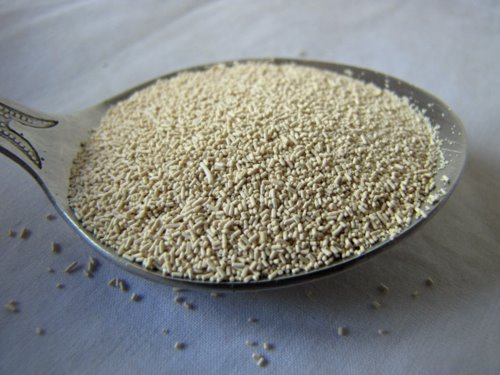
Make sure that you get some good quality active dry yeast.
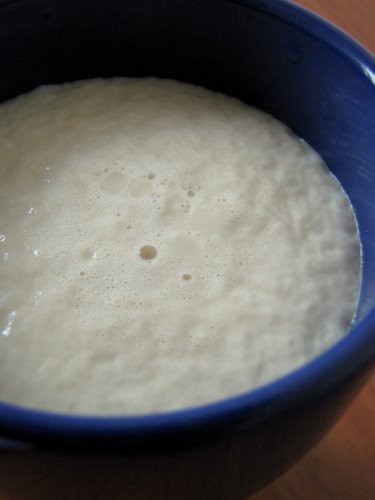
1. Mix together 1/2 tbsp active dry yeast (1.5 tsp), 1 tbsp sugar and 1/2 cup warm water. Let it stand for 10 – 12 mins until the mixture starts to froth, like so.
If your yeast is not good enough or is nearing its expiry date, it won’t froth much so that should be a good indicator.
Also, this mixture doesn’t smell so good so if your husband or anyone else at home comes around saying “what the heck is that smell? what on earth are you making?”, don’t let that deter you. We can get back at them with the heavenly smell of baking bread very soon.
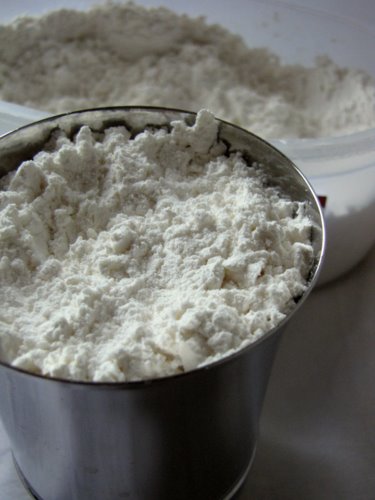
2. Measure out your flour next. You will need 2 cups of maida or all – purpose flour.
You can substitute half of this with atta or whole wheat flour if you want. Since atta is coarser than whole wheat flour, run it through your mixer once before using it.
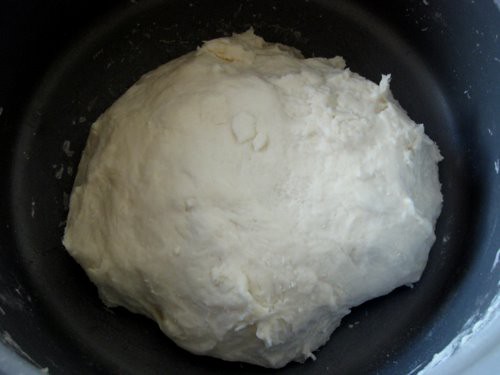
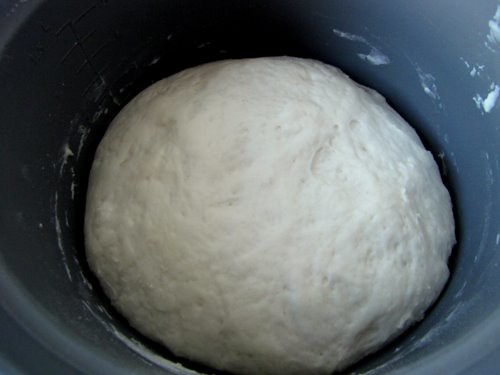
3. Mix the flour gently into the yeast mixture with about 1/2 tsp salt, and knead until it all comes together. This dough will feel unbelievably silky. Sprinkle some flour while kneading it gets too sticky.
Ok, it may not look so silky or even smooth because I suck at shaping it out nicely and making it look pretty. But this is good enough, you will see. Make sure you rub in some olive oil (or butter) on the sides of the bowl to prevent the dough from sticking on too much.
Let this sit for an hour. You can cover it with some cling wrap. I didn’t have any, so I cut up a thin plastic bag and used that instead.
5. After an hour, you will see that the dough has risen to almost double its size and that it looks quite uniform and pretty, unlike the previous picture. Always let nature (or yeast, in this case) do its own thing.
Note: its still not going to smell so good but like I said, ignore and keep going.
6. The next step is to knead down the dough a bit, on a floured surface.
If you are anything like me, you will be a bit tired by now, with all the measuring and the waiting and the photography. So call in your husband, or anyone else you can boss into helping you knead. You don’t need to knead your palms off, just be slow and firm.
Make sure you interfere them while kneading and ask them to pose for a few pics. Its all in the game of bread-making.
PS: If you have a bread-making machine, then you fall into the category of people who I am jealous of, so don’t rub it in by commenting and gloating about it, please.
7. After about 10 minutes of kneading, transfer the dough to a loaf tray that’s dabbed with olive oil or butter on all sides. Don’t go overboard with the dabbing though.
I used a pyrex glass loaf tray, and I blame it for this ugly picture. Cover this again with cling wrap / cut up plastic bag and let it sit for another hour.
8. It will rise again to almost double its size, like so.
If you touch the top of the dough, it will be s-o-f-t. Resist temptation to punch it down and play with it. Its time to bake your bread!
9. Pre-heat oven to 200 C / 390 F and bake for about 20 mins. The crust will turn a lovely golden brown.
This, my friends, will be the best smelling thing you have ever made! Trust me!
My crust got a little dry, but you can dab some butter or milk when it just comes out of the oven and you should be just fine. I didn’t do this because I was too busy taking pictures!
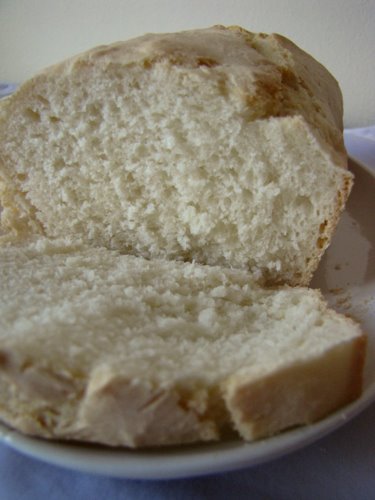
10. Cut it into slices and store in an air-tight container for upto 3 days. I got about 9 slices so it didn’t last that long.
Here is the recipe again, all in one place.
Simple White Bread Recipe
Makes one 8″ loaf
Ingredients:
2 cups all-purpose flour / maida
1/2 tbsp (1.5 tsp) yeast
1 tbsp sugar
1/2 cup warm water
1/2 tsp Salt
Olive oil or butter to grease
How to make Basic White Bread
1. Mix sugar, warm water and yeast together and leave aside for 10-12 mins until the mixture froths.
2. Mix in the flour and salt and knead gently. Place in a greased bowl covered with cling wrap for an hour, until the dough doubles in size.
3. Knead on a floured surface for 10 mins and transfer to a greased loaf tin. Cover with cling wrap and let it rise for another 1 hour. It will again double in size.
4. Bake in a pre-heated oven at 200 C / 390 F for about 20 mins until the crust turns golden brown.
5. Slice and enjoy!
We had this with some home made hummus when it was still warm, and let me tell you, the feeling that I created all this, was awesome!
Freshly baked white bread with hummus
Try it and drop a comment below, won’t you?




hello i had a little problem…the dough turned out to be very dry and hard….can u help wid this???y does the dough become so hard and wat i can do to make it softer….
hi Naga, this is such a treat! I remember my mother made white bread at home when I was younger and we all loved it..especially with home made butter:-) The smell is divine..pls pls post how to make brown bread/wheat bread too…
Will post it soon,had tried few months back the aroma was just great but was a flop.Best to try with small quantity as yours.Thanks for sharing
Nags, the first and second photos are simply beautiful.
Your blogs makes a very interesting read. I must add though that the first bread you baked looked awesome than this one.
Great step-by-step tutorial. Thanks for sending this to YeastSpotting!
i had posted bread-besan toast earlier… this one is bread-rava toast 🙂
GIMME UR ADDRESS NAGS! i gotta raid! i'll do all the kneading, clicking n posing as long as i get to eat what u make 😀 needless to say, i eat husband's share too coz he is gonna be free of all this labour! 😉
This recipe only made 6 rolls for me… is it possible that more yeast is needed?
6 rolls sound about right for this amount of ingredients.